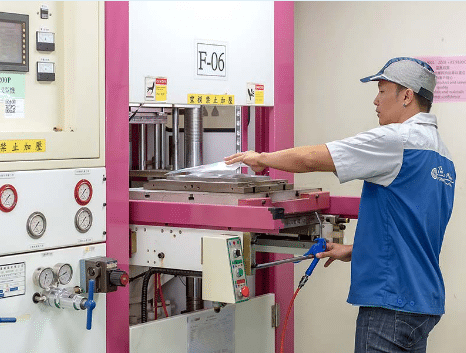
Screen Printing: Print Patterns On Silicone Products
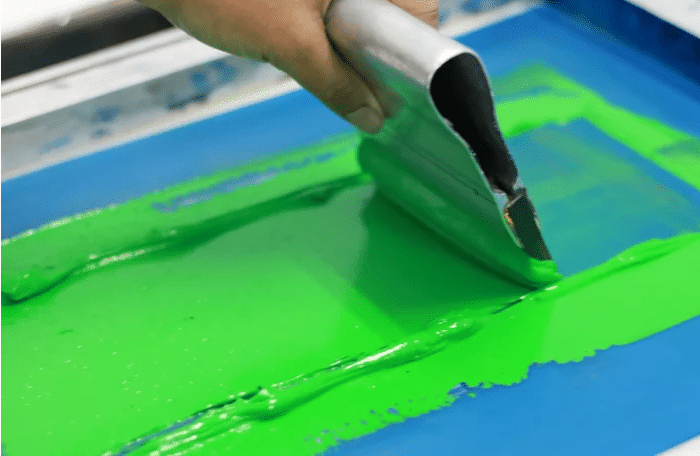
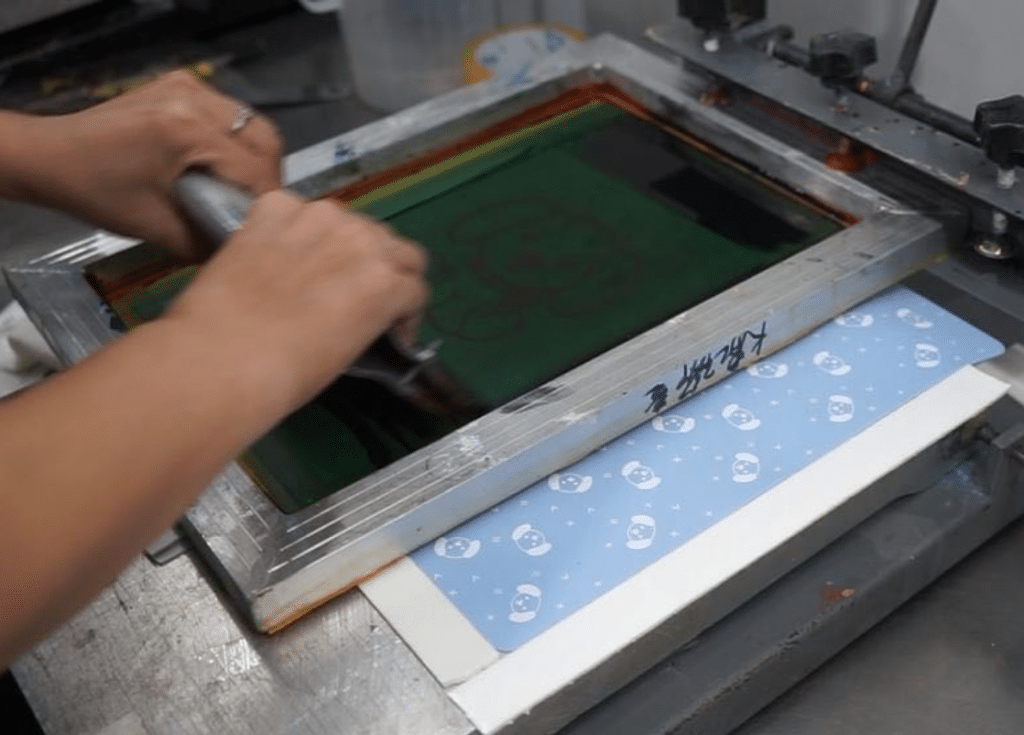
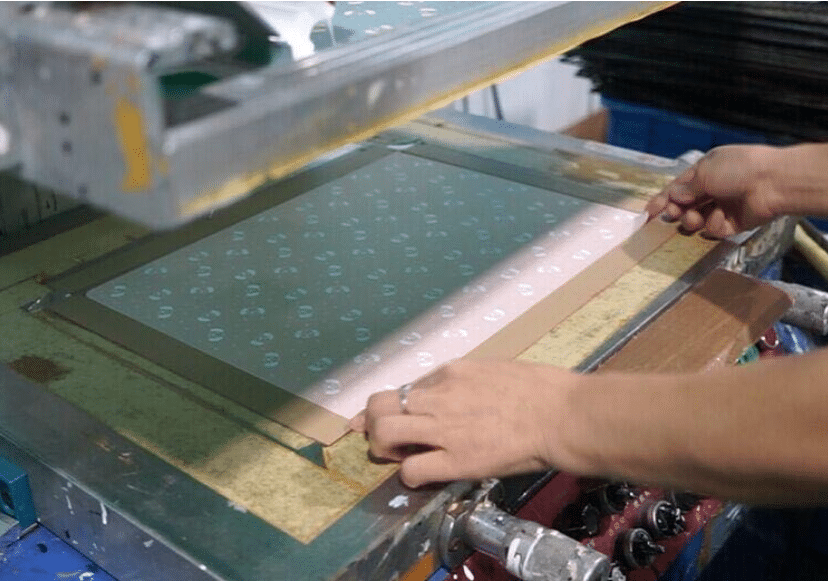
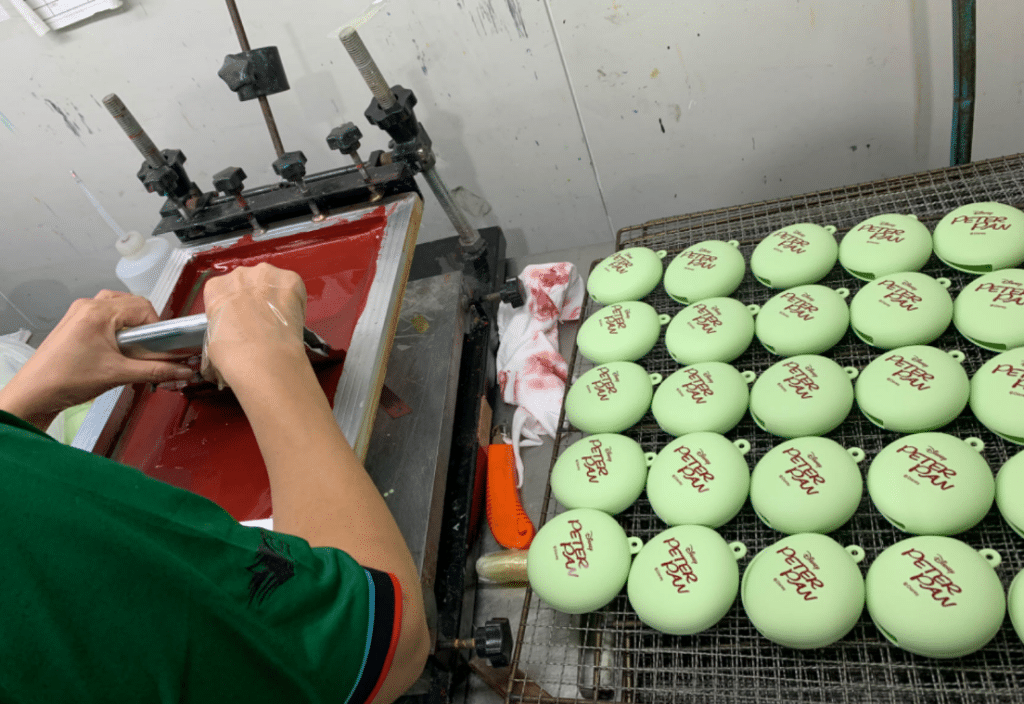
Screen printing is a printing technique where a mesh is used to transfer ink (or dye) onto a substrate, except in areas made impermeable to the ink by a blocking stencil. A blade or squeegee is moved across the screen to fill the open mesh apertures with ink, and a reverse stroke then causes the screen to touch the substrate momentarily along a line of contact. This causes the ink to wet the substrate and be pulled out of the mesh apertures as the screen springs back after the blade has passed. One color is printed at a time, so several screens can be used to produce a multi-colored image or design.
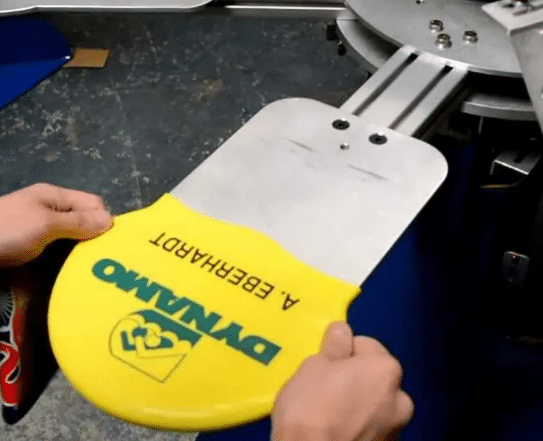
The technique is used not only for garment printing but for printing on many other substances, including decals, clock and watch faces, Silicone, and many other products. Advanced uses include laying down conductors and resistors in multi-layer circuits using thin ceramic layers as the substrate.
What Is Screen Printing?
Screen printing is the process of transferring a stenciled design onto a flat surface using a mesh screen, ink, and a squeegee.
Fabric and paper are the most commonly screen-printed surfaces, but with specialized inks, it’s also possible to print onto wood, metal, plastic, and even glass. The basic method involves creating a stencil on a fine mesh screen, and then pushing ink (or paint, in the case of artwork and posters) through to create an imprint of your design on the surface beneath.
The process is sometimes called ‘silk screening’ or ‘silk screen printing’ and while the actual printing process is always fairly similar, the way the stencil is created can vary, depending on the materials used. Different stencilling techniques include:
Using masking tape or vinyl to cover the desired areas of the screen.
Painting the stencil onto the mesh using ‘screen blockers’ such as glue or lacquer.
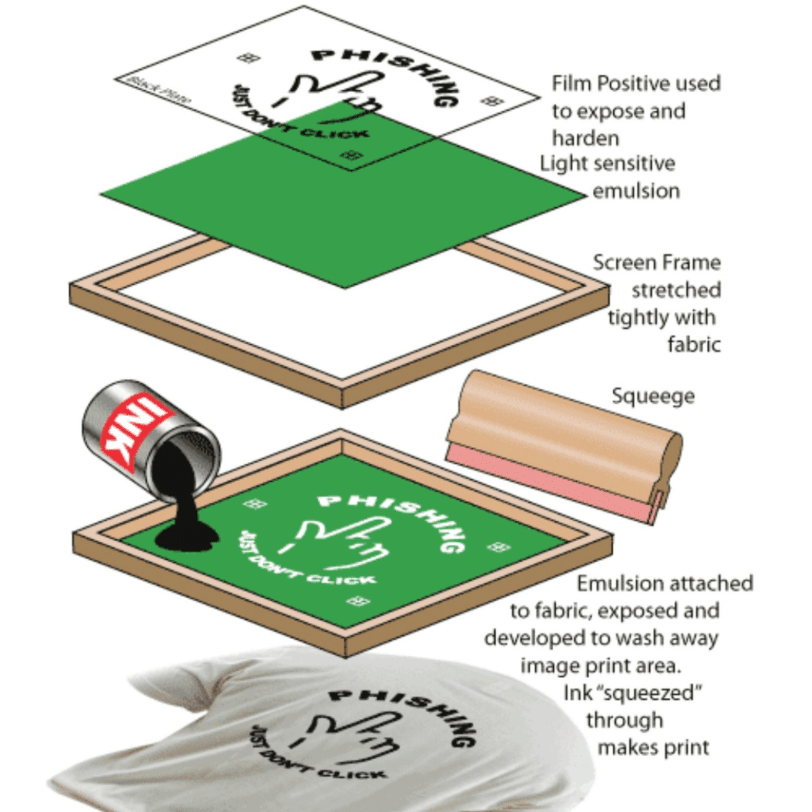
Using a light-sensitive emulsion to create a stencil, which is then developed in a similar way to a photograph.
Designs made using the screen printing technique may use just one shade of ink, or several. In the case of multicolored items, the colors must be applied in individual layers, using separate stencils for each ink.
A Brief History Of Screen Printing
Screenprinting originated in China (around AD 221) as a way of transferring designs onto fabrics.
Following this the Japanese began using simple stenciling techniques as a way to create imagery. At this time stencils were cut out of paper and the mesh was woven from human hair. Stiff brushes were used to force ink through the mesh onto the fabric.
How Does Screen Printing Work?
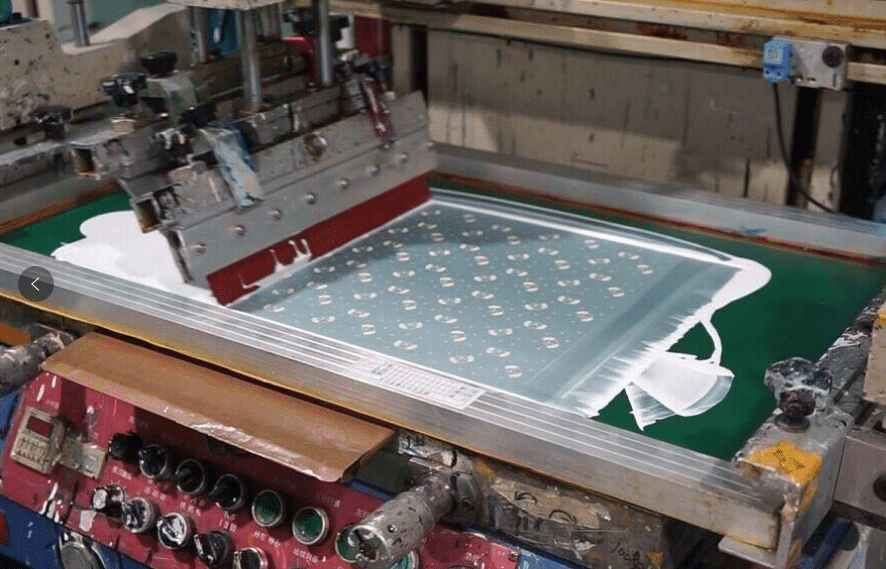
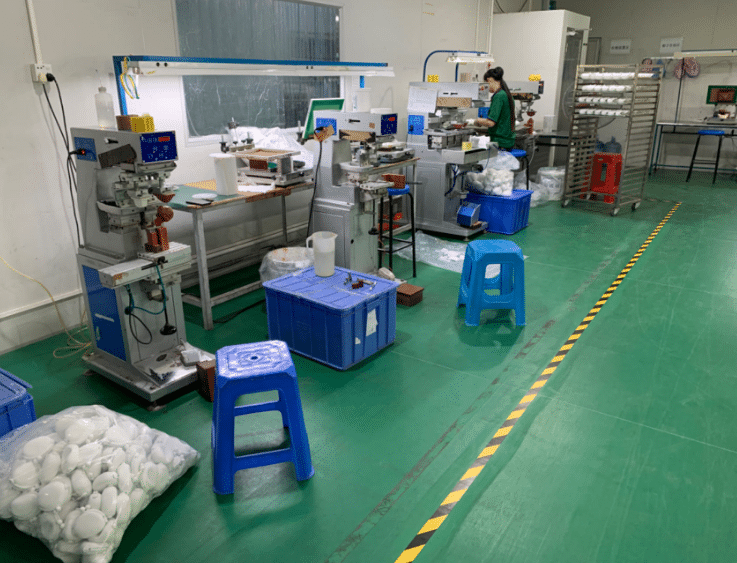
Screen printing can be done by hand or using a machine but the basic process is always the same. The differences can be of the type of ink used, its rendered effect and the printed surface. Below is the screen printing process step by step:
What Are the Steps of Screen Printing?
Screen printing is a popular printing method that’s done in a few easy steps:
- Step One: Your design is put on a screen.
- Step Two: Thick green goo called emulsion is spread over the screen.
- Step Three: Before the emulsion hardens, a machine goes over it with UV-shielding ink.
- Step Four: The emulsion hardens and a negative image is displayed.
- Step Five: Colored ink is spread over the screen and applied via a printing machine.
- Step Six: The screen-printed item is ready to go!
The reason that it’s called “screen printing” is because it involves the use of screens, which we hope isn’t that surprising. It would be great if manufacturers had giant pens they could use to draw a company’s logo in puffy ink on their items, but until they do (and until they make enough to handle a giant production like five thousand baby bibs), manufacturers need a way to force ink onto the item in the shape of a specific design.
Different Types Of Screen Printing Methods
There are six different types of screen printing processes. Since different techniques will provide different results, it is important to understand the different types.
1. SPOT COLOUR SCREEN PRINTING
The most common screen printing technique is spot colour screen printing. Spot colour screen printing uses the ink’s stock colour by printing it through the stencil of the mesh. This technique produces a vibrant solid spot of colour. It is much simpler to use as compared to other screen printing methods. It can be an excellent option for printing on t-shirts, jackets, and hoodies, for example.
2. HALFTONE PRINTING
In halftone printing, single colours in gradients are printed. The entire process uses a single colour of ink, and this colour gets half-toned, resulting in a different shade when looked at from a distance. This technique is best used to obtain the multi-colour printing look without actually doing it. In addition, it is a cost-effective method since only one colour of ink is used.
3. GRAYSCALE PRINTING
Grayscale printing is an excellent method of printing full-colour images as one colour grayscales or halftones. The print will look more detailed if the halftone has more dots. It is not a black and white technique; instead, it pulls out the CMY or RGB or colour scales only but in shades of grey. Grayscale printing is one of the most cost-effective screen printing techniques, often used for printing black and white designs onto fabrics.
4. DUOTONE PRINTING
Duotone printing uses the combination of two halftones for printing the same image with two colours. First, a black halftone is printed with black ink, and then a second halftone is printed with colour ink. This technique is similar to sepia-toned print in photography. It provides a sophisticated and artsy effect.
5. CMYK (4-COLOR PRINTING)
It is the most complex screen printing technique. It involves the four basic colours – cyan, magenta, yellow and black. These four colours are combined to produce the required colour tones. It can be done manually but preferably should be done automatically for best results.
6. SIMULATED PROCESS PRINTING
The simulated printing process combines the four-colour printing process with spot colour printing. Since this technique is useful for both lighter and darker shades, it is versatile and popular with people looking to produce photorealistic print detail.
Advantages And Disadvantages Of Screen Printing
Advantages of Screen printing
When considering using screen printing technology, it’s worthwhile thinking about its benefits, of which there are many.
Disadvantages of screen printing
Choosing The Right Substrate For Screen Printing
The choice of mesh count, thread size, and open area will depend on the type of substrate. For example, a coarser mesh (with a lower thread count) is typically used for printing on thicker substrates, such as cardboard or poster board. Conversely, a finer mesh (with a higher thread count) is typically used for printing on thinner substrates, such as paper or fabric.
Equipment And Materials Required For Screen Printing
Tips For Achieving High-Quality Screen Prints
Frequently Asked Questions About Screen Printing
Conclusion
Screen Printing is a versatile and cost-effective printing method that can be used to create high-quality, full-color prints on various substrates, including silicone baby products. With the right equipment, materials, and techniques, you can create beautiful and long-lasting designs that are sure to impress. Whether you are printing t-shirts, jerseys, hats, bags, or promotional items, Screen Printing is a great choice for producing small runs and custom designs. Follow our tips and FAQs to get the most out of your Screen Printing projects.

